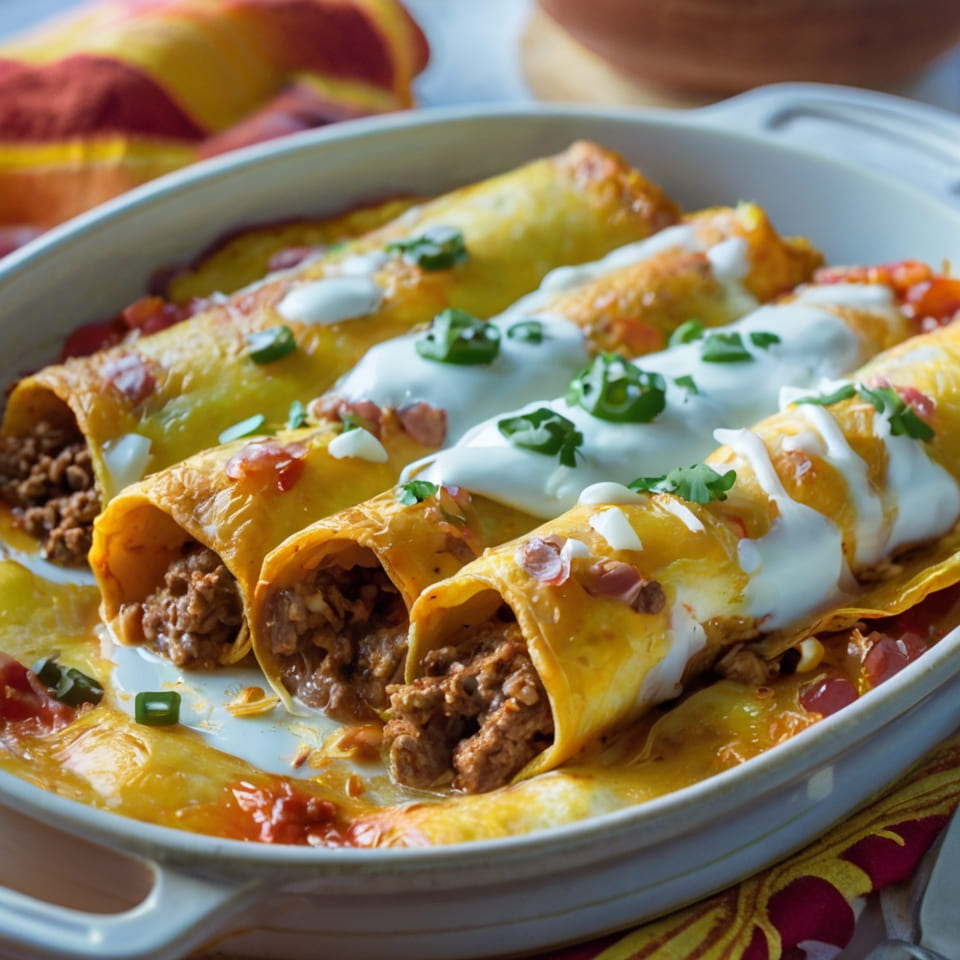
If you love comforting Mexican flavors, this Cheesy Ground Beef Enchiladas Recipe is perfect. It is packed with tender beef, melted cheese, and bold spices.
This recipe combines simple pantry staples with a homemade touch for a family-friendly dish.
Each bite is creamy, savory, and loaded with cheesy goodness. It is also a versatile meal that works for both weeknight dinners and special gatherings.
Enchiladas are a classic Mexican dish that never disappoints. This version is hearty yet easy enough for beginners.
You will love the balance of beef, sauce, and cheese baked to perfection. Plus, it is a recipe you can customize with your favorite toppings.
With this Cheesy Ground Beef Enchiladas Recipe, you’ll have a delicious meal ready in no time.
When I First Introduced To
I first tried enchiladas at a friend’s dinner. The cheesy layers amazed me. That memory inspired me to create my own version.
Equipment List
- Large skillet
- Baking dish (9×13 inch)
- Wooden spoon
- Cutting board
- Knife
- Measuring cups
- Measuring spoons
- Mixing bowls
- Aluminum foil
Ingredients List
- 1 lb ground beef
- 1 tbsp olive oil
- 1 small onion, diced
- 2 cloves garlic, minced
- 1 tsp chili powder
- 1 tsp cumin
- 1 tsp paprika
- 1 tsp salt
- ½ tsp black pepper
- 1 can (10 oz) enchilada sauce
- 1 cup sour cream
- 2 cups shredded cheddar cheese
- 8 large flour tortillas
- 2 tbsp fresh cilantro, chopped

Step by Step Preparation
- Preheat oven to 375°F.
- Heat oil in skillet over medium heat.
- Add onion and garlic, cook until softened.
- Add ground beef, cook until browned.
- Stir in chili powder, cumin, paprika, salt, and pepper.
- Pour half enchilada sauce into beef mixture.
- Remove from heat and let mixture cool slightly.
- Place some beef mixture on each tortilla.
- Add shredded cheese, then roll tortillas tightly.
- Place rolls seam side down in baking dish.
- Pour remaining sauce over the top.
- Spread sour cream evenly on top layer.
- Sprinkle with remaining cheese.
- Cover dish with foil.
- Bake for 20 minutes.
- Remove foil and bake another 10 minutes.
- Garnish with fresh cilantro before serving.
Recipe Tips
- Warm tortillas to prevent tearing.
- Use ground turkey for a leaner option.
- Add jalapeños for extra spice.
- Mix cheeses for richer flavor.
- Prepare ahead and freeze for later use.
What Can You Serve With Cheesy Ground Beef Enchiladas Recipe?
- Mexican Rice: Fluffy, seasoned rice balances the richness of enchiladas.
- Refried Beans: Creamy beans add protein and extra comfort.
- Guacamole Salad: Fresh avocado salad lightens up the cheesy meal.
Conclusion
This Cheesy Ground Beef Enchiladas Recipe is cheesy, flavorful, and satisfying. It’s easy to prepare and perfect for family meals.
With simple sides, you can create a full Mexican-inspired spread. Try this recipe, and enjoy the warm, comforting flavors of enchiladas at home.
Cheesy Ground Beef Enchiladas Recipe
Ingredients
- 1 lb ground beef
- 1 tbsp olive oil
- 1 small onion diced
- 2 cloves garlic minced
- 1 tsp chili powder
- 1 tsp cumin
- 1 tsp paprika
- 1 tsp salt
- ½ tsp black pepper
- 1 can 10 oz enchilada sauce
- 1 cup sour cream
- 2 cups shredded cheddar cheese
- 8 large flour tortillas
- 2 tbsp fresh cilantro chopped
Instructions
- Preheat oven to 375°F.
- Heat oil in skillet over medium heat.
- Add onion and garlic, cook until softened.
- Add ground beef, cook until browned.
- Stir in chili powder, cumin, paprika, salt, and pepper.
- Pour half enchilada sauce into beef mixture.
- Remove from heat and let mixture cool slightly.
- Place some beef mixture on each tortilla.
- Add shredded cheese, then roll tortillas tightly.
- Place rolls seam side down in baking dish.
- Pour remaining sauce over the top.
- Spread sour cream evenly on top layer.
- Sprinkle with remaining cheese.
- Cover dish with foil.
- Bake for 20 minutes.
- Remove foil and bake another 10 minutes.
- Garnish with fresh cilantro before serving.
Notes
- Warm tortillas to prevent tearing.
- Use ground turkey for a leaner option.
- Add jalapeños for extra spice.
- Mix cheeses for richer flavor.
- Prepare ahead and freeze for later use.