

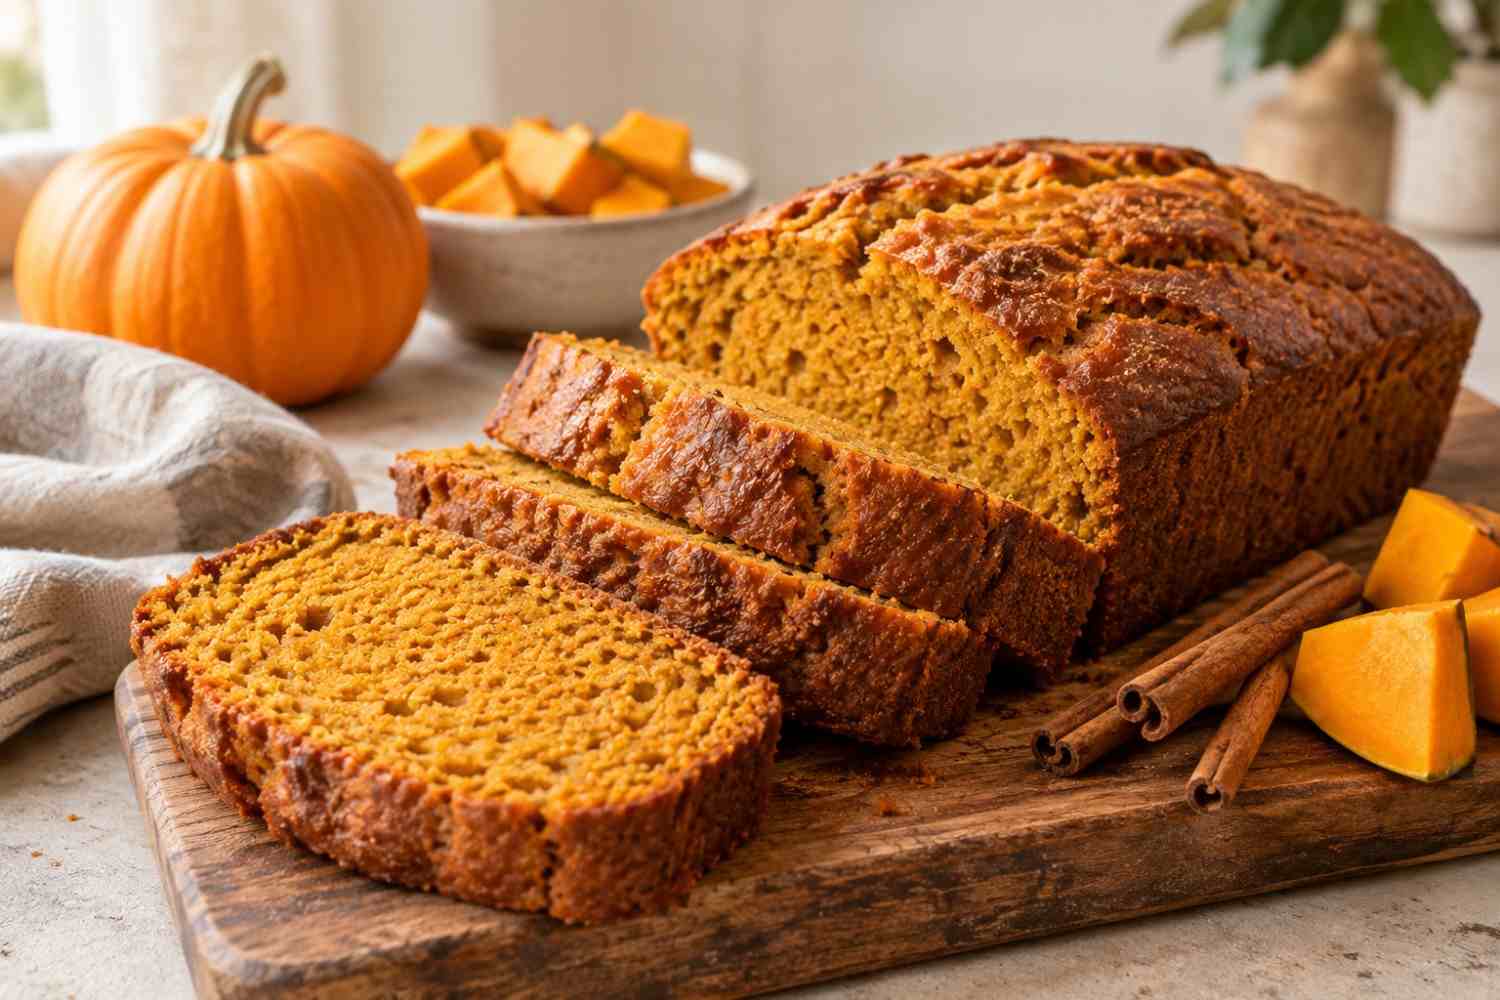
Why is my bread dense? If your loaf comes out heavy, gummy, or flat instead of light and soft, you are not alone. Dense bread is one of the most common home-baking problems, and it usually comes from a small, fixable issue: under-proofing, too much flour, old yeast, not enough kneading, or cutting the loaf while it is still hot.
The good news is that you do not need a new recipe for every failure. Work through the seven fixes below, change one thing at a time, and your next loaf will usually improve right away.
What Makes Bread Dense?
Bread rises when yeast produces gas and gluten traps it in tiny pockets. Anything that weakens the yeast, tightens the dough, or stops the rise too early will leave less air inside. Dense bread is therefore a clue, not a mystery: look at your yeast, flour measurement, proofing time, kneading, oven temperature, and cooling time.
7 Easy Fixes That Work
1. Check That Your Yeast Is Alive
Old or heat-damaged yeast is a leading cause of dense bread. Proof active dry yeast in warm water—about 105 to 115 degrees Fahrenheit—with a pinch of sugar. It should foam within 5 to 10 minutes. If it does not, discard it and start with fresh yeast. Also, keep yeast away from direct contact with salt until the dough is mixed, because salt can slow or kill yeast.
2. Measure Flour Correctly
Scooping flour straight from the bag can pack in up to 30 percent extra flour, which makes dough stiff and heavy. Spoon flour into the measuring cup, level it with a knife, or use a kitchen scale for the most reliable results. The dough should feel soft and slightly tacky, not dry and firm.
3. Give the Dough Enough Time to Rise
Under-proofed dough has not built enough gas yet, so it stays compact in the oven. Let the dough roughly double in size, and use the poke test: press a floured finger about half an inch into the dough. If the dent springs back slowly and partly fills in, it is ready. If it springs back immediately, give it more time.
4. Knead Until the Gluten Develops
Gluten is the elastic network that holds air bubbles. Under-kneaded dough tears easily and cannot trap gas. Knead until the dough is smooth, stretches without tearing, and passes the windowpane test: a small piece can be stretched thin enough to see light through it without breaking. Most doughs need 8 to 12 minutes by hand or 6 to 8 minutes in a stand mixer.
5. Do Not Over-Proof Either
Too much rising is just as harmful as too little. Over-proofed dough runs out of food for the yeast, loses structure, and can collapse into a dense, sour loaf. Watch the dough, not just the clock, especially in a warm kitchen. When it passes the poke test, shape and bake it promptly.
6. Bake at the Right Temperature
A cool oven cannot create the fast burst of steam and expansion known as oven spring. Preheat fully, use an oven thermometer if your oven runs cool, and do not open the door in the first 15 minutes. Bake until the loaf sounds hollow when tapped and reaches about 190 to 200 degrees Fahrenheit inside for most sandwich and artisan loaves.
7. Let Bread Cool Before Slicing
Cutting hot bread releases steam and can make the crumb gummy and compressed. Let the loaf cool on a wire rack for at least 30 minutes—and ideally an hour—before slicing. The inside is still setting during this time, and patience here often makes the biggest visible difference.
Try These Bread Recipes Next
Once you know the fixes, practice with forgiving recipes. Start with the Joanna Gaines Cornbread Recipe for a quick bread that does not depend on yeast, or try the Paula Deen Yeast Rolls Recipe to practice proofing on a small, manageable scale.
For a soft side to serve with dinner, make the Ina Garten Garlic Bread Recipe or the Joanna Gaines Buttermilk Biscuits Recipe. For sweet baking, the Easy Chocolate Chip Banana Bread Recipe, the Pumpkin Bread Recipe, and the Caramel Apple Brioche Galette Recipe are all good ways to practice measuring, mixing, and cooling without the pressure of a yeast loaf.
Quick Troubleshooting Checklist
- Yeast foams in warm water before mixing.
- Flour is spooned and leveled, or weighed.
- Dough doubles and passes the poke test.
- Dough stretches thin without tearing after kneading.
- Oven is fully preheated before baking.
- Bread cools completely before slicing.
Frequently Asked Questions
Why is my bread dense and gummy in the middle?
This usually means the bread was underbaked or sliced too soon. Check the internal temperature, bake a few minutes longer if needed, and cool the loaf on a rack before cutting.
Can I fix dense bread after baking?
You cannot re-rise a baked loaf, but you can still enjoy it. Toast slices for breakfast, turn it into croutons or bread pudding, or serve it with soup and stew where a hearty texture works well.
Does bread flour make bread less dense?
Bread flour has more protein, so it can build stronger gluten and a lighter, chewier crumb than all-purpose flour in yeast breads. It helps, but correct measuring, proofing, and kneading matter even more.
Fix one variable at a time, keep notes on what changed, and dense bread will soon become a rare exception instead of a regular frustration.